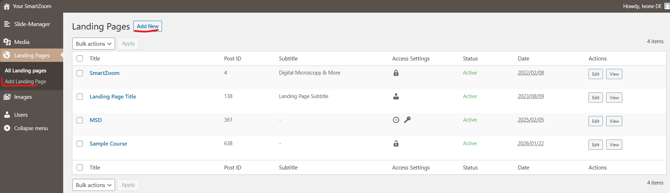
Navigate to the landing page overview and click on "Add Landing-Page" or "Add new".
Landing-Page Settings
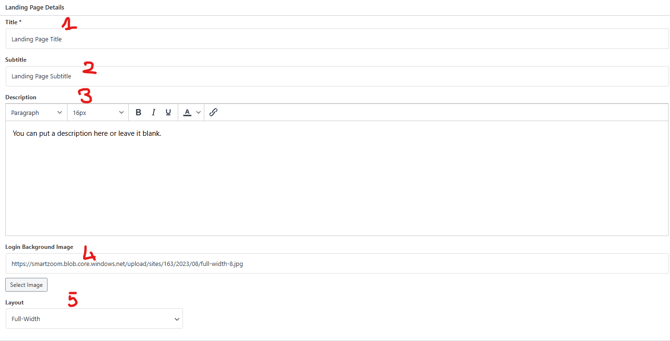
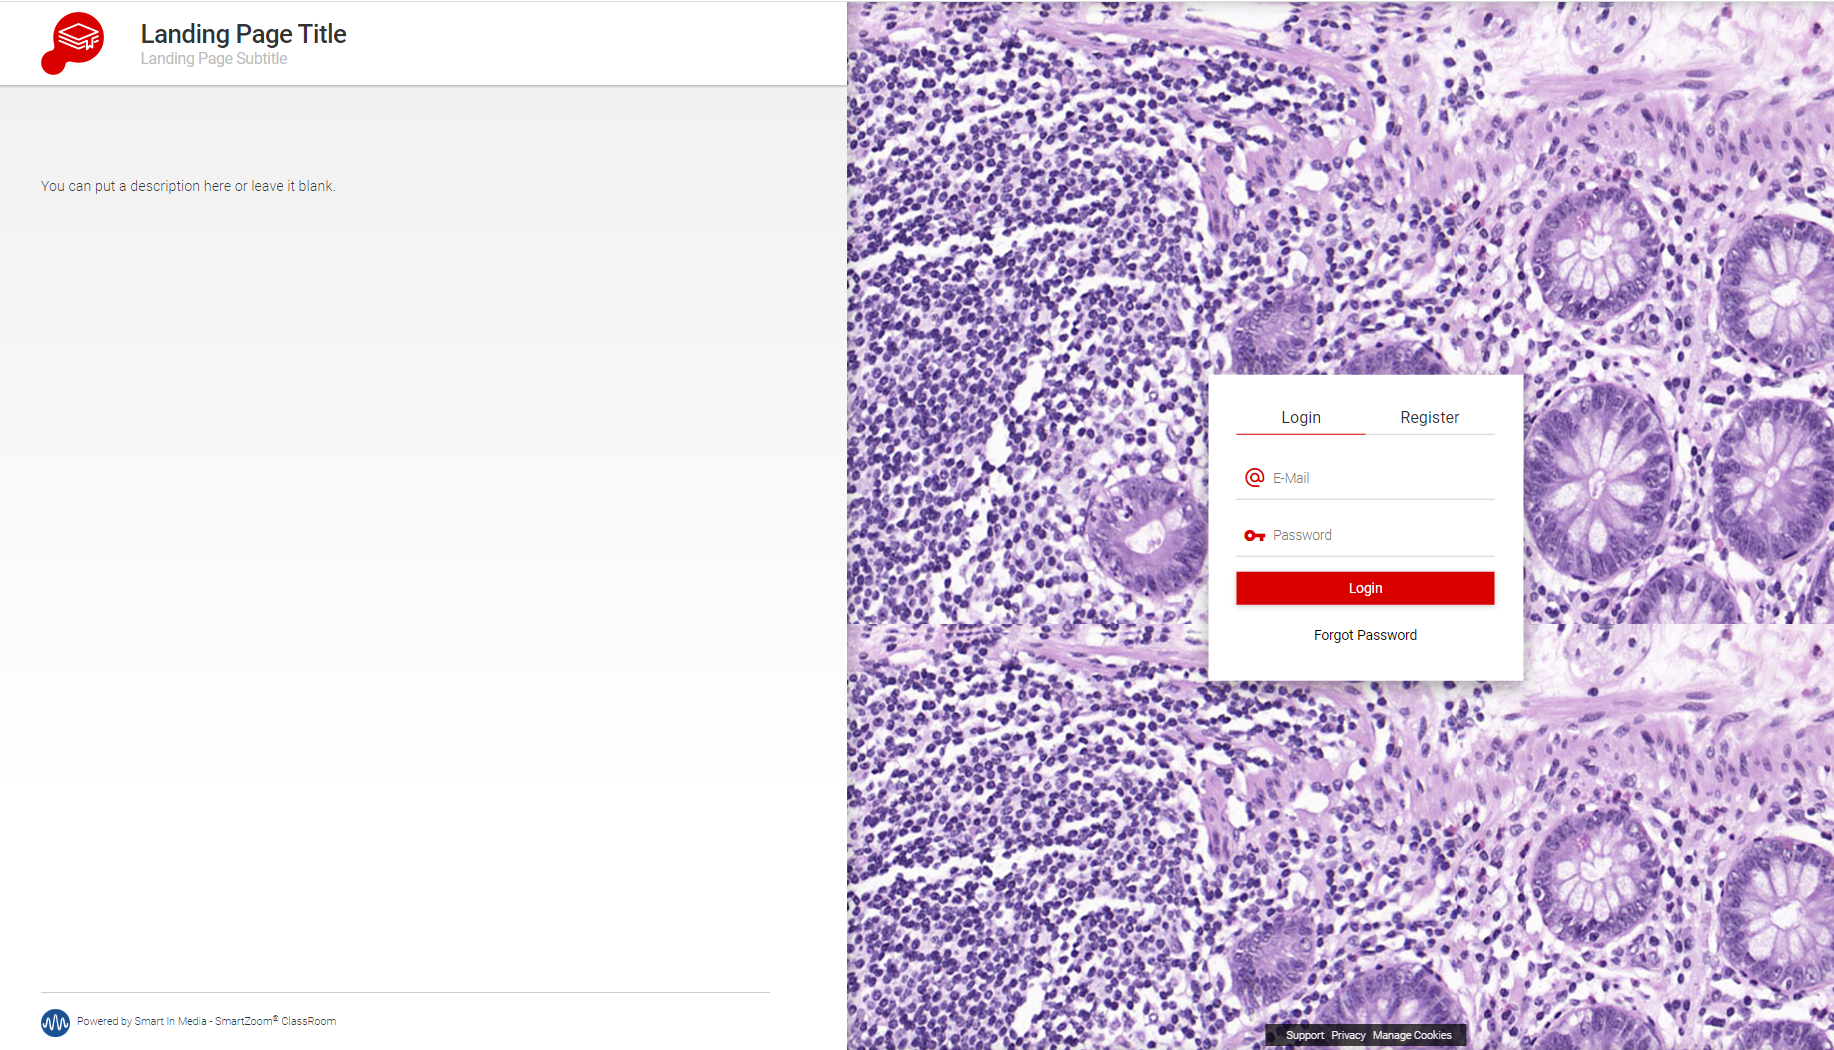
The title of your landing page (1) will appear on every site of your platform, you can set it here: Then you can add a subtitle (2), which will only be visible on the landing page itself, and add a description or leave it blank (3) This is a standard WYSIWYG editor with the usual option to edit your text.
You can also select a background image for your landing page (5). Please note that depending on the layout option the image must have different dimensions.
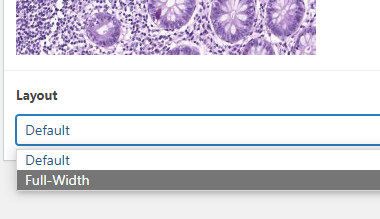
You can choose between the default split screen(1) or the Full-Width(2) layout. For the default setting your background image should be 1000x1200 pixels for the Full-Width please make it 2000x1200 pixels
This is an example of how the default view will look
and this is an example of how the Full-Width view will look

Your platform has one default landing page, this is the page you will see when entering "yourplattform.smartzoom.com" into your browser. You can have several landing pages to access these you will need the direct link, meaning "yourplattform.smartzoom.com/sPostID"
You can see the PostIDs of your additional landing page in the overview:
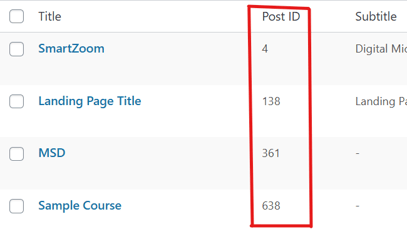
you can add it in the address bar to create a direct link:

Access Settings
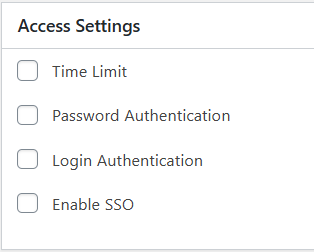
In the access setting you can set a time limit as well as the authentication method for the landing page. Your platform will arrive with a default landing page. Please DO NOT delete the default landing page, set a time limit or make it accessible via password only, it will lock you out.
You'll find a detailed breakdown of the access setting here: Access Settings
Template Settings
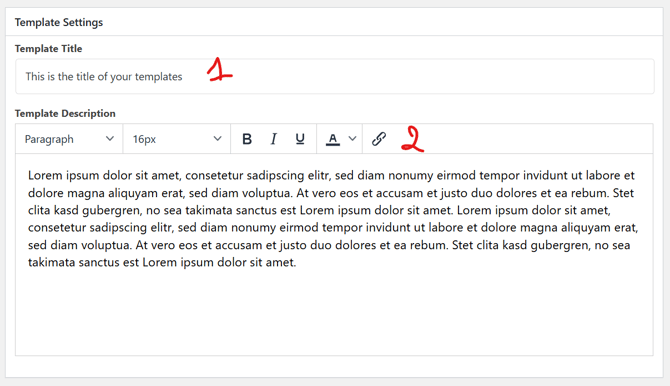
The title(1) will be visible to the users once they enter the platform. The description (2) is where you can add text to your template. This is a standard WYSIWYG editor with the usual option to edit your text.
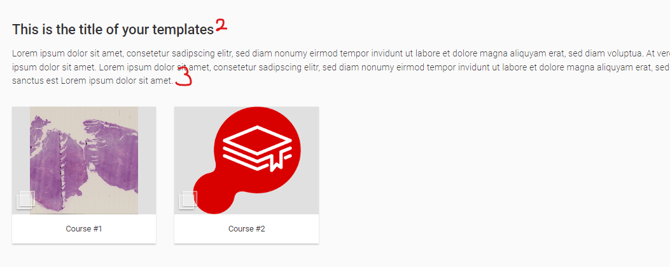
Here you can see what it would be like. The title (2) and the description (3)
In the "Display Settings" you can now add the content you wish to display in your template.
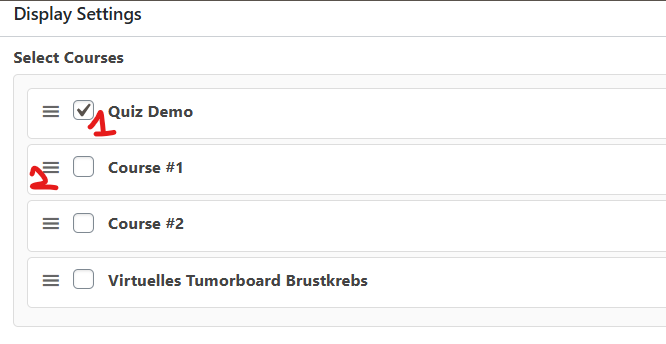
You can add a course to as many templates as you wish. Select the courses (1) you want to be shown on this page. Uncheck the box if you would like to remove a course. Use the Menu Icon(2) to drag & drop the courses to display them in the right order.
Once you've added your courses you can set the style of your template.
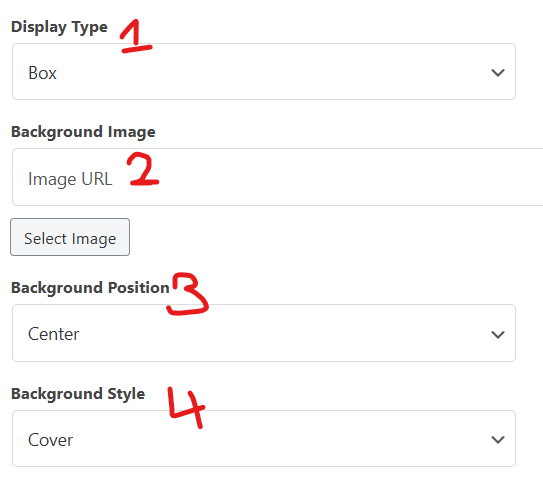
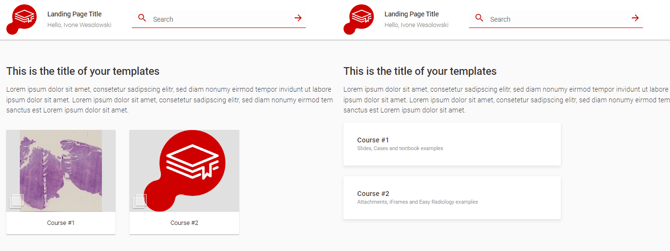
You can choose between the box VS list in the Display Style (1)
Box Style List Style
You can add a background image to your template (2), this file should be 2000x1200 pixels.
You can set the background-position (3) and the background-style(4).
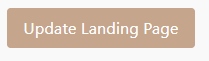
Please do not forget to save your changes:
 or
or